

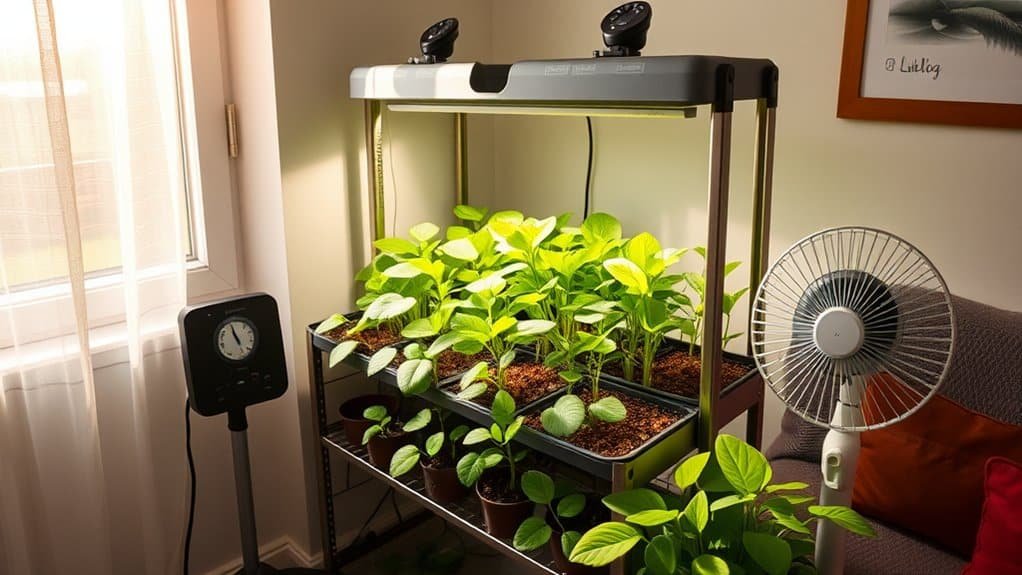
To start a grow rack at home, I first plan my space and choose a sturdy frame, making sure it is level for stability. Then I position energy-efficient LED grow lights about 5–7 cm above the seedlings for optimal growth. Ensuring good air circulation and ventilation is crucial—I keep openings clear and adjust them to allow fresh air. I use high-quality potting soil and closely monitor nutrient delivery. Regular maintenance, such as checking humidity and nutrient levels, keeps the plants healthy. With this solid foundation I can easily grow a variety of plants. If you’re curious about improving your setup, there’s a lot more to discover!
Key points
- Choose a suitable location with stable ground and enough space for your vertical grow rack to maximize your indoor gardening efficiency.
- Assemble the grow rack with robust materials, and ensure proper alignment and stability for optimal plant support and airflow.
- Install energy-efficient LED grow lights and position them correctly to provide the right spectrum and intensity for your plants’ growth stages.
- Set up an effective airflow and ventilation system to maintain ideal temperature and humidity levels, which supports healthy plant development.
- Check regularly and adjust soil nutrients, pH levels and watering schedules to ensure optimal conditions for plant growth.
Planning your grow racks
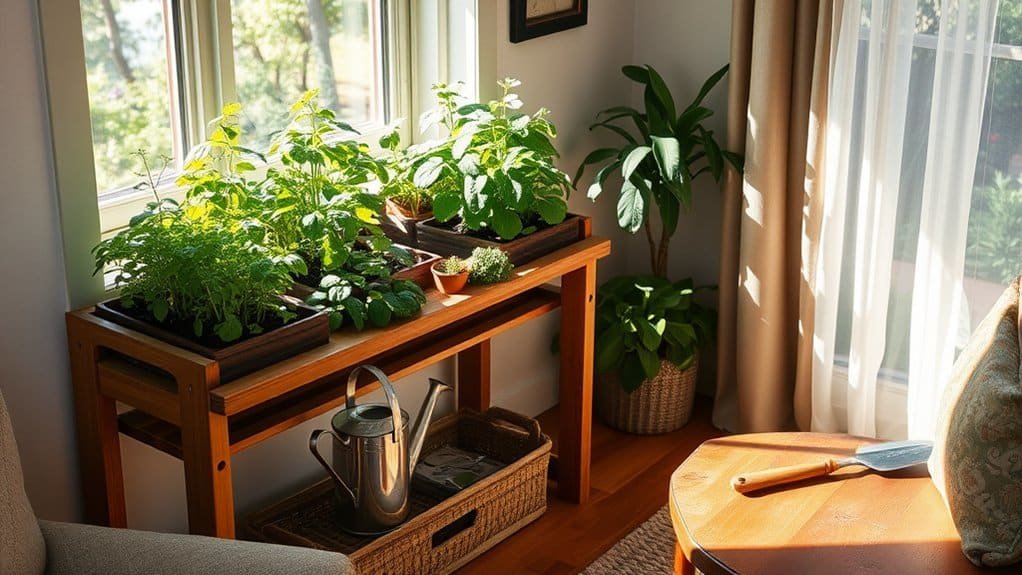
When planning your grow rack, it’s essential to think about how to best use the available space. I’ve found that vertical grow racks are a real game-changer, allowing me to stack plants in multiple layers and maximize every inch of my indoor growing area. This setup can triple my production potential, making it a smart choice for anyone serious about growing. Additionally, using vertical grow racks can greatly improve control over environmental factors like light, humidity and temperature, further supporting optimal plant growth.
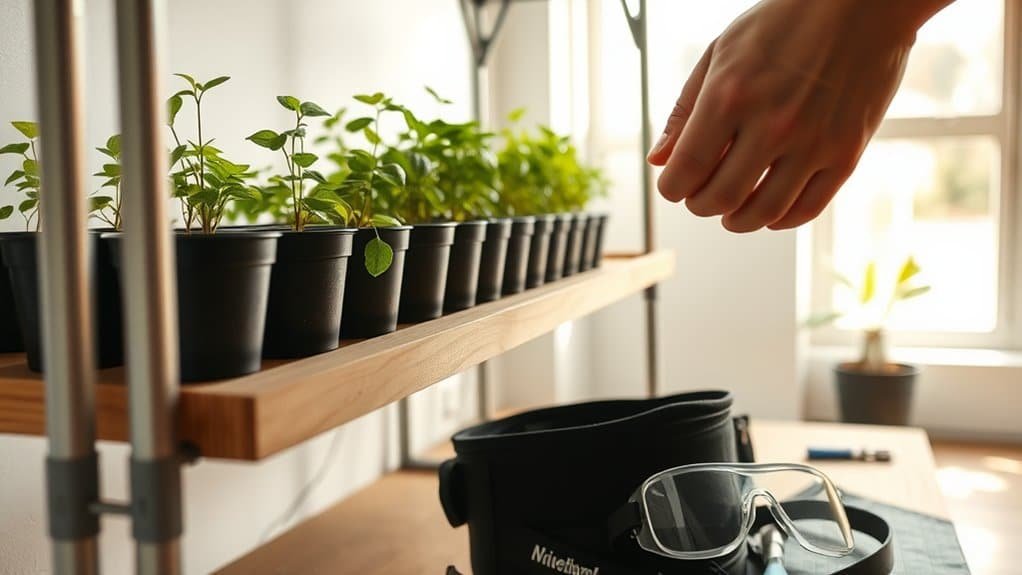
When it comes to plant selection, I prefer smaller varieties such as microgreens, leafy greens and herbs because they thrive in these compact, adjustable shelves. Applying permaculture practices like crop diversity in your selection can improve the ecological balance and productivity of your indoor garden.
It’s crucial to consider the rack dimensions—both the overall footprint and the height between tiers—to ensure proper air circulation and light distribution. Each plant has unique height requirements, so I plan my layout carefully to avoid overcrowding and to make sure each plant receives its fair share of resources.
I also recommend consulting experts in architectural design and MEP engineering; their insights can help optimize both the room size and the rack layout.
Lighting settings
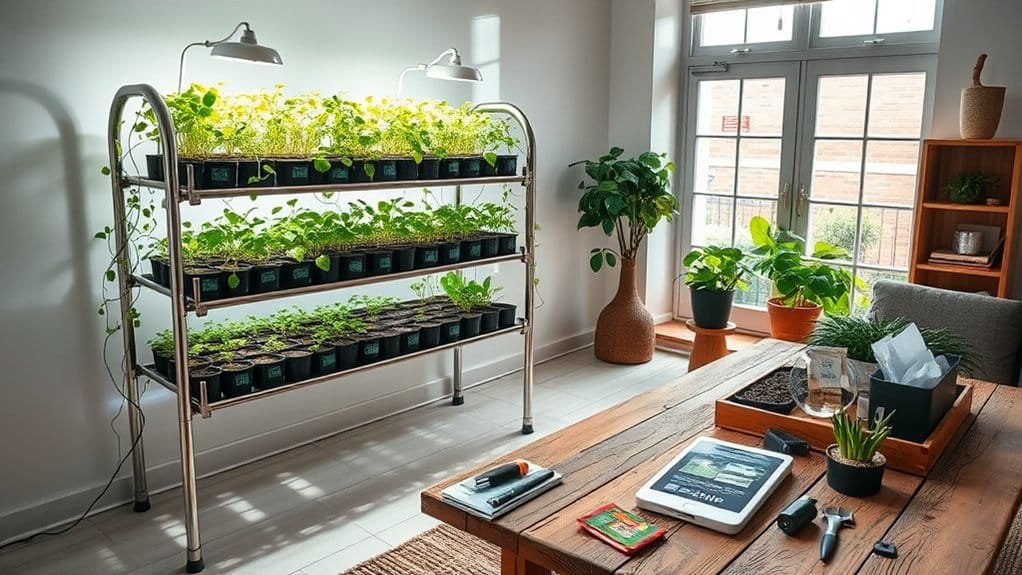
When setting up lighting for my grow rack I prioritize choosing the right LED grow lights that maximize efficiency and spectrum for my plants’ needs. I’ve learned that proper installation and positioning can significantly impact growth, so I always pay attention to how I arrange the fixtures. Understanding that energy-efficient lighting is crucial, I opt for LED technology to lower overall energy consumption while promoting healthy plant growth.
Choosing grow lights
Picking the right grow lights is crucial to the success of your indoor garden. I have found that LED fixtures are the best option for my setup due to their many advantages.
They are energy-efficient, produce less heat (which reduces plant water loss) and provide better recovery periods. With full-spectrum capabilities, LED lights offer all the necessary colors for optimal growth and can be adjusted to different Kelvin values for different growth stages. Additionally, vertical farming techniques can maximize your indoor production, allowing you to grow year-round.
In contrast, HPS lamps have significant drawbacks. Although they emit red light that is ideal for flowering, they generate more heat, which can stress plants and increase energy costs. I’ve also found their efficiency to be lacking compared to LEDs.
When considering light intensity, I pay attention to the coverage area. Higher lumen values mean more intense light, but LEDs allow me to use lower wattage while achieving effective light distribution. This balance helps promote healthy growth without breaking the bank.
In the long run, investing in quality LEDs not only saves on energy costs but also delivers longer life and better overall performance for my indoor garden.
Trust me; this choice makes a difference!
Light installation tips
After choosing the right grow lights, it’s time to focus on their installation to maximize your indoor gardening success. Proper light positioning is crucial; for young seedlings I place LED grow lights about 5 to 7 centimeters above them. As my plants mature, I raise the lights to about 8 to 10 centimeters above the canopy. This gradual adjustment helps prevent leaf burn while providing sufficient light intensity.
I also pay attention to the light spectrum. For optimal growth I use lights with a blue-white dominance (above 3000 K) during the vegetative phase, and switch to warmer colors (below 3000 K) for the flowering phase. A mix of deep red, blue, green, yellow and white supports robust plant health. My setup also includes 2x VS06 40W LED lamps, which provide excellent lighting for the plants.
To maintain consistency, I use a timer that gives my plants up to 18 hours of light per day. This regular cycle of light and darkness is essential for their development.
Maximizing light efficiency
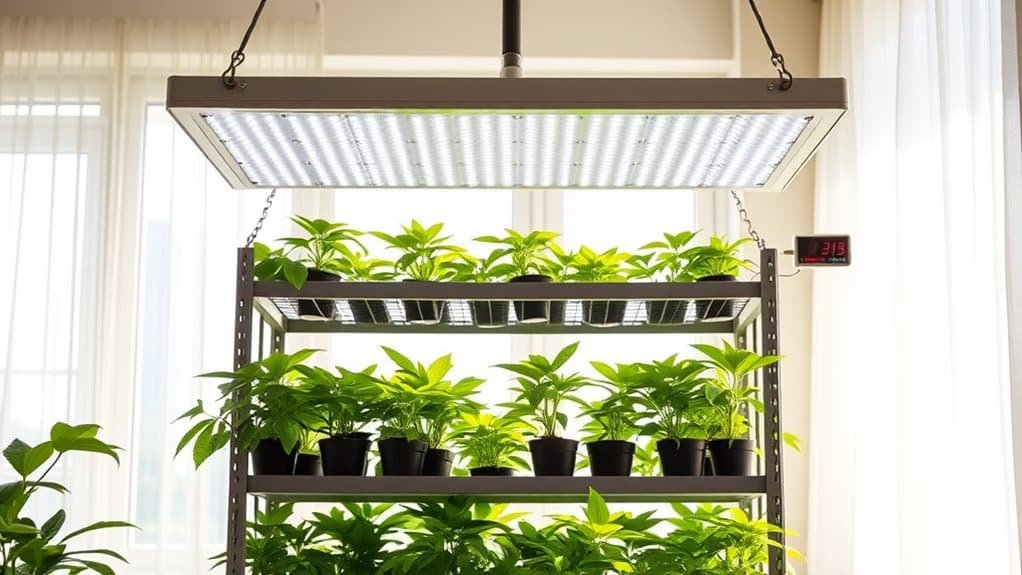
Maximizing light efficiency is crucial for ensuring healthy plant growth in my indoor garden. Understanding the light spectrum is essential; I use full-spectrum grow lights that simulate natural sunlight by providing all the colors plants need. Red light stimulates flowering, while blue light promotes vegetative growth, creating an optimal environment for each growth stage.
I prefer LED grow lights because they are energy-efficient and have a longer lifespan. These fixtures offer a full light spectrum and run cooler, which greatly reduces the risk of burning my plants. In my setup the Kitchenfarm S model has two 40W LED lamps that help achieve optimal growing conditions.
Adjusting light intensity is essential; young plants thrive under lower intensity, while mature plants require more. I monitor light intensity closely so it matches their growth stages.
Using LED technology supports plant health and also contributes to a more sustainable growing process. Well-known brands like Samsung or Philips offer reliable options that balance performance and efficiency.
Ensure airflow and ventilation
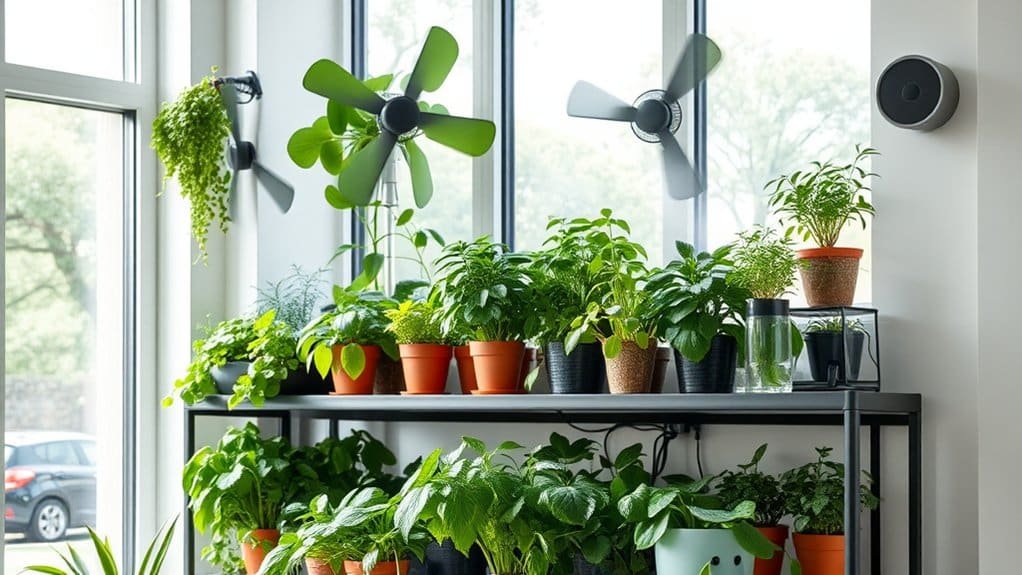
Creating a robust airflow and ventilation system is crucial for any home grow rack setup. Good air quality and humidity control can have a significant impact on plant health, and I’ve found that both mechanical and natural ventilation play important roles. With mechanical ventilation I ensure that the exhausts in the kitchen, bathroom and toilet operate efficiently. These systems continuously expel stale air while drawing fresh air in through vents. I always keep these vents open and maintain at least a 1.5 cm gap under doors and thresholds to promote airflow. On the other hand, I use natural ventilation by opening windows to let outside air circulate. It’s important to remember to close the living-room vents at night while keeping those in the bedrooms open for optimal airflow. I pay extra attention to areas like the kitchen and bathroom where increased humidity can be problematic. Opening windows daily and regularly cleaning surfaces helps maintain air quality. Maintaining good humidity control is essential to prevent mold and ensure healthy plant growth. Finally, I clean vents and grilles at least once a year to keep everything running smoothly. This proactive approach makes a world of difference in keeping my grow rack healthy.
Managing climate control
Managing climate control is a top priority to keep my grow rack healthy. Proper temperature regulation and humidity management are vital for healthy plant growth. I aim to maintain an ideal temperature between 20–25°C, where consistency is essential for the best environment. I also take seasonal changes into account and adjust heating systems as needed to prevent drastic drops.
Here are three key strategies I use:
- Insulation: I insulate walls, floors and ceilings to prevent heat loss so my plants stay warm without high energy costs.
- Humidity control: I use humidifiers and misting systems to keep optimal humidity levels between 40% and 70%. Regularly measuring humidity helps me prevent mold growth while supporting robust plant development. The Royal Well Tuinkas Full Options Royal 66 includes features that improve humidity management, making it easier to maintain the right conditions.
- Automated systems: I have integrated automatic window openers and ventilation flaps into my setup for effective ventilation. These systems help maintain consistent climate conditions without constant manual intervention. To further optimize the environment, I use intermittent misting during propagation to ensure cuttings receive enough moisture without oversaturation.
Effective nutrient feeding
Effectively delivering nutrients is crucial for the health and productivity of my grow rack. I’ve learned that the right soil composition is fundamental for optimal nutrient uptake. I choose a high-quality potting mix rich in organic matter so it retains moisture and supplies essential nutrients.
Applying balanced fertilizers, such as a 10-10-10 NPK mix, at the right times significantly boosts my plants’ growth. Monitoring the soil pH is also important; I check it regularly to match the needs of each plant. A consistent watering schedule helps me avoid over- or under-watering, which can impede nutrient uptake.
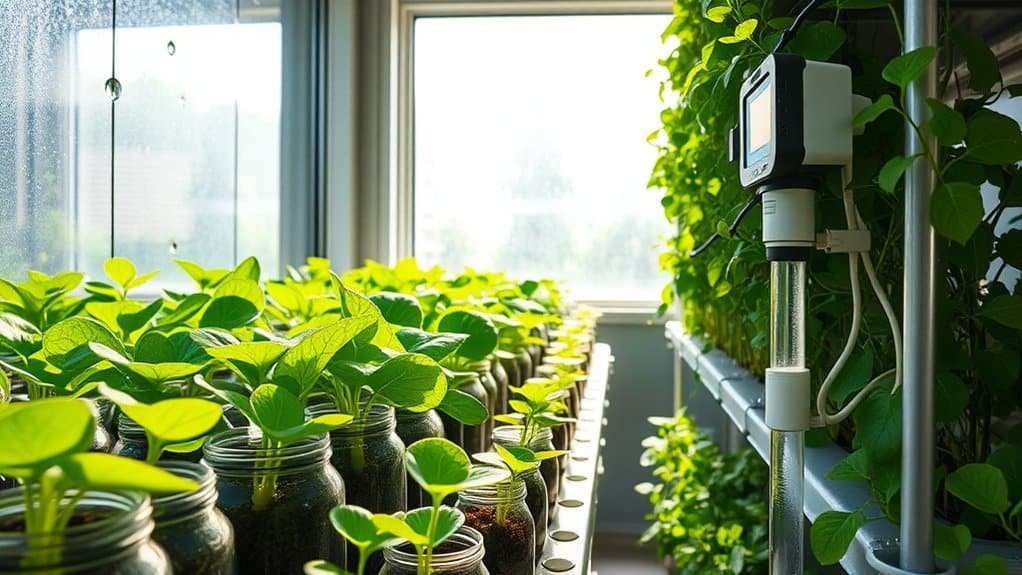
I also add compost to improve nutrient availability and soil structure. For those using hydroponic systems, I prepare a balanced nutrient solution tailored to my plants. I ensure continuous water circulation and regularly monitor pH and provide adequate aeration to prevent root oxygen deficiency. Extra compost can be helpful because it not only enriches the soil but also improves soil structure, enhancing the overall environment for plant growth.
Using soilless media such as sphagnum moss can also improve nutrient retention. Ultimately, understanding how to deliver nutrients effectively allows me to cultivate a thriving grow rack where each plant gets the nourishment it needs to flourish.
Safe and secure assembly
Assembling a grow rack safely and securely is essential to ensure the longevity and efficiency of your setup. I’ve learned that foundation stability and proper frame alignment are crucial in this process. Here is how I do it:
Frequently Asked Questions
What are the best plants for beginners to grow?
If you’re just starting, I recommend beginner-friendly plants such as lettuce, beets and bush tomatoes. These plant choices make growing simple and enjoyable, while delivering quick results in your indoor space.
How much space do I need for a grow rack?
When I consider a grow rack location, I make sure there’s enough space around it for access and maintenance. My space-planning tips include accounting for height and width while providing sufficient light for optimal growth.
How much time does maintaining a grow rack take?
Maintaining a grow rack takes time depending on the frequency of upkeep. I usually spend a few minutes per day, up to two hours per month, using tools like cleaners and watering systems to ensure everything stays healthy and thriving.
Can I use a grow rack outdoors?
Yes, I use my grow rack outdoors. The materials are weather-resistant, making them suitable for outdoor plant choices. Be sure to provide protection from extreme weather conditions for a successful and long-lasting growing experience.
What costs are associated with setting up a grow rack?
When I consider startup costs for a grow rack, I find that materials for the rack, such as the aluminum frame and seed trays, total around €135. It’s a worthwhile investment for my gardening passion and sustainable living goals!
Conclusion
Starting a grow rack at home can be an incredibly rewarding experience. By planning your setup carefully, ensuring you have the right lighting, air circulation and climate control, and delivering nutrients effectively, you create an ideal environment for your plants to thrive. Don’t forget to assemble everything safely and securely to maximize your success. Dive in with passion and patience; soon you’ll see the fruits of your labor flourish, transforming your space into a vibrant green oasis. Enjoy growing!